Get tips on Building installation: Waterproofing, Flooring, Tile and Stone Installation and more!
The presence of dirt and contamination on the substrate due to improper cleaning before tile installation can compromise good adhesion. Likewise, for the back of tiles. Other factors such as cracks in substrates or premature loading on substrates that are not fully cured can also result in adhesion issues.
Prevention: Ensure that the substrate is properly cleaned and prepared. The substrate must be free of dust, dirt of any deleterious material that will impede good adhesion. As for the back of tile, use a damp sponge to remove dust and dirt deposits before tile installation.

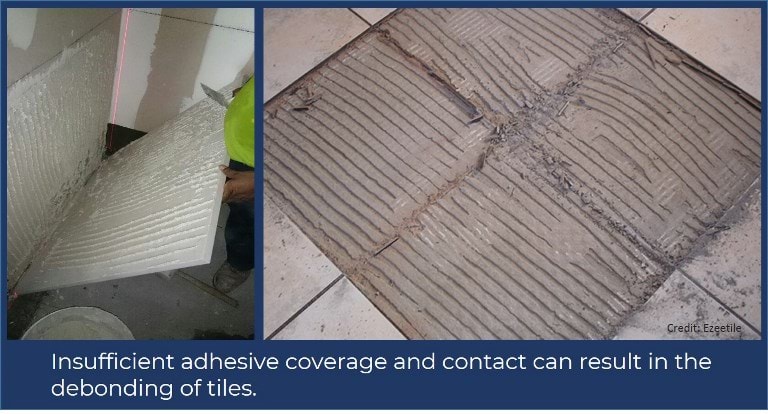
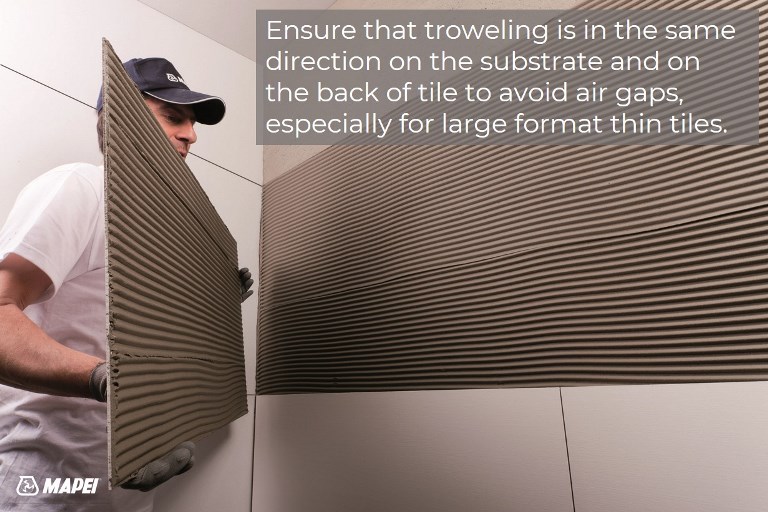
Prevention: Apply sufficient adhesive for coverage and contact between substrate and the back of tile. Lay tile into the adhesive with firm pressure to ensure trowel ribs collapse to good compaction and rid of air voids. In particular for large thin tiles, one directional troweling is recommended (not the multi-directional troweling) so as to ensure that the trowel ribs compress in one direction to avoid air gaps between the ribs.

Another situation of poor adhesion and contact is when the trowel ribs in the adhesive bed are not pressed down to full compaction. When tiles are placed onto the adhesive which has not been fully compressed to compaction, the contact is superficial and there will also be air gaps and voids in the installation.
Prevention: To ensure proper bonding of the tiles and substrate, the workman should press down the tile firmly using a rubber mallet to tap on the tile to eliminate trapped air gaps after laying. Watch the video on proper tile installation. Proper bonding between the tile and adhesive material behind the tile may reduce the stress concentration.
